

Top rated
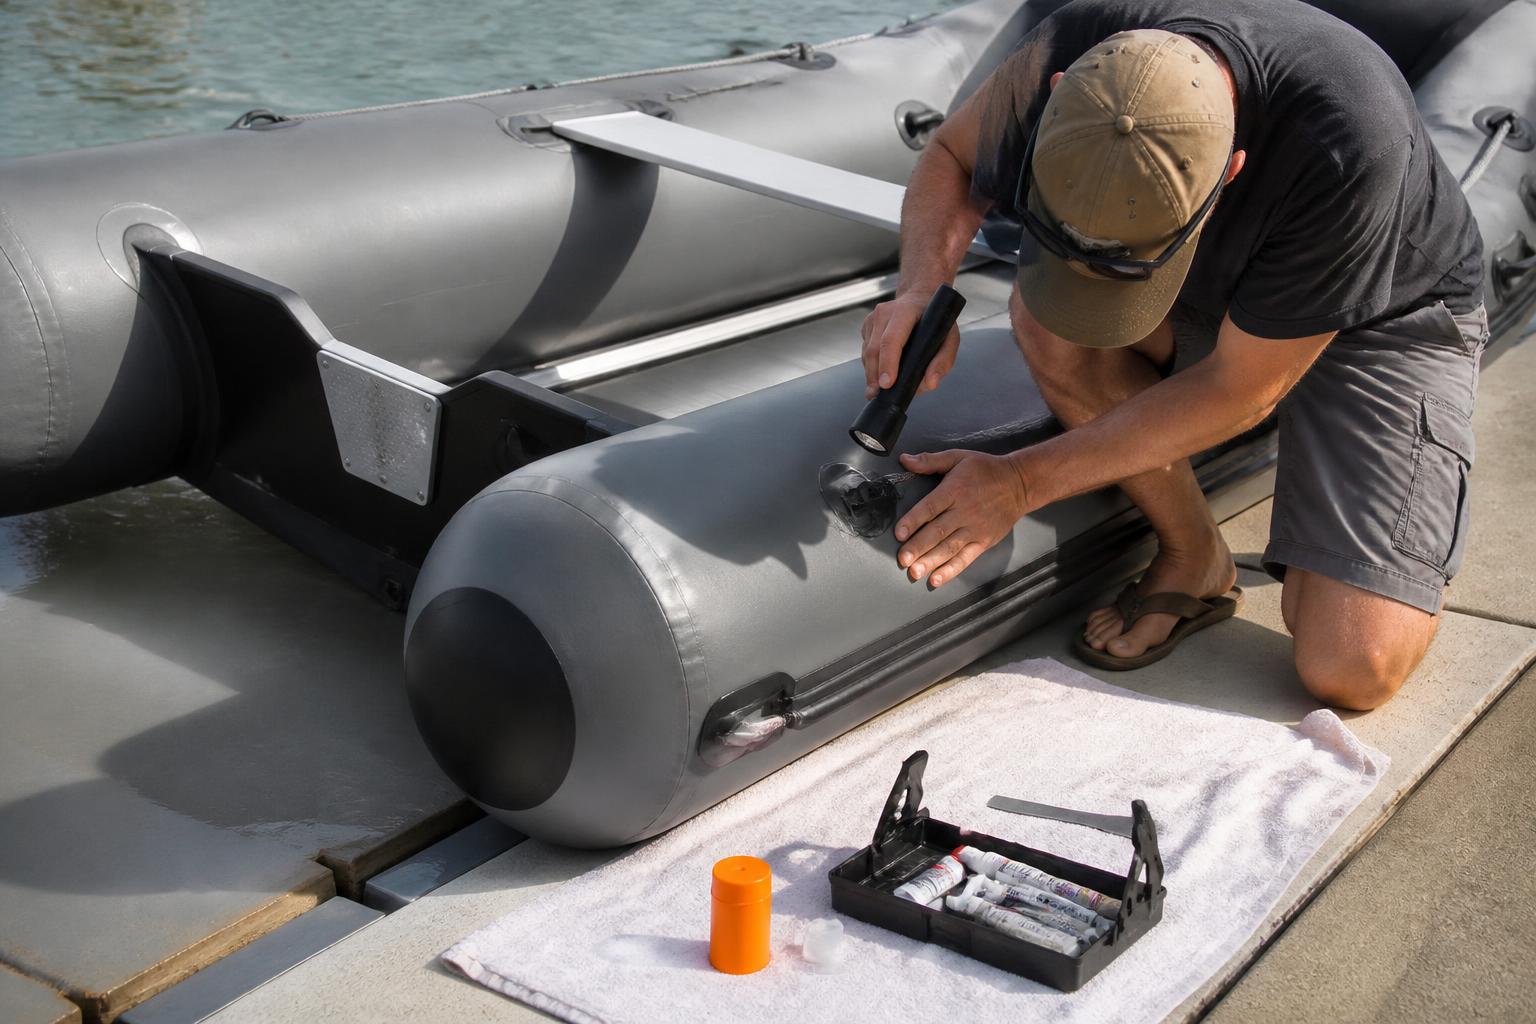
How to Patch & Repair an Inflatable Boat: Step-by-Step Guide
Every inflatable boat owner eventually faces the same moment of dread: you're loading up for a weekend on the water and notice one tube feels a little soft. Or worse, you hear that telltale hiss coming from a seam. The good news is that most punctures, seam leaks, and valve problems on PVC and Hypalon boats are fixable in an afternoon with the right materials and a little patience. You don't need to haul the boat to a shop or replace it outright.
This guide walks through the actual repair process step by step, based on what works in the field — not just what's printed on the back of a patch kit box.
Know Your Fabric Before You Start
Before you touch any glue or solvent, figure out whether your boat is PVC or Hypalon (CSM). This matters because the two materials use completely different adhesive chemistry, and using the wrong glue will give you a patch that peels off within days.
- PVC boats use PVC-specific adhesive or a two-part polyurethane glue. PVC patches are flexible, lighter, and generally the most common material on recreational and budget-to-mid-range inflatables.
- Hypalon boats require Hypalon/neoprene adhesive, which is typically a two-part contact cement. Hypalon is more UV and chemical resistant but the glue work is less forgiving — you usually get one shot to line up the patch correctly before it bonds.
If you're not sure which material you have, check the manufacturer specs or run a small test: PVC has a slightly glossy, almost plastic feel, while Hypalon has a duller, more matte rubber texture. When in doubt, a quick call to the manufacturer with your model info will confirm it.
PVC vs Hypalon Repair Comparison
| Factor | PVC | Hypalon |
|---|---|---|
| Adhesive type | PVC cement or 2-part polyurethane | 2-part Hypalon/neoprene contact cement |
| Working time | Moderate — some repositioning possible | Short — bonds almost instantly on contact |
| Heat welding option | Yes, with proper equipment | No, adhesive bonding only |
| UV/chemical resistance | Good, degrades faster in harsh sun | Excellent long-term durability |
| Typical cure time | 24 hours before inflation | 24–48 hours before inflation |
Tools & Supplies You'll Need
Most of this comes in a basic patch kit, but here's the full list of what a proper repair job requires:
- Patch material matching your boat's fabric (PVC or Hypalon)
- Correct adhesive for that fabric
- Acetone or MEK (solvent for cleaning/prepping surfaces — PVC only, do not use on Hypalon fabric itself)
- 80-120 grit sandpaper or a wire brush for scuffing the surface
- Scissors with rounded corners (sharp 90° corners on a patch tend to peel up first)
- A hard roller or the back of a spoon for pressing out air bubbles
- Rubbing alcohol and clean rags
- A pump to fully inflate the boat for soapy-water leak testing
- Dish soap and a spray bottle
- Clamps or heavy flat objects to weigh down the patch while curing
Step 1: Find the Leak
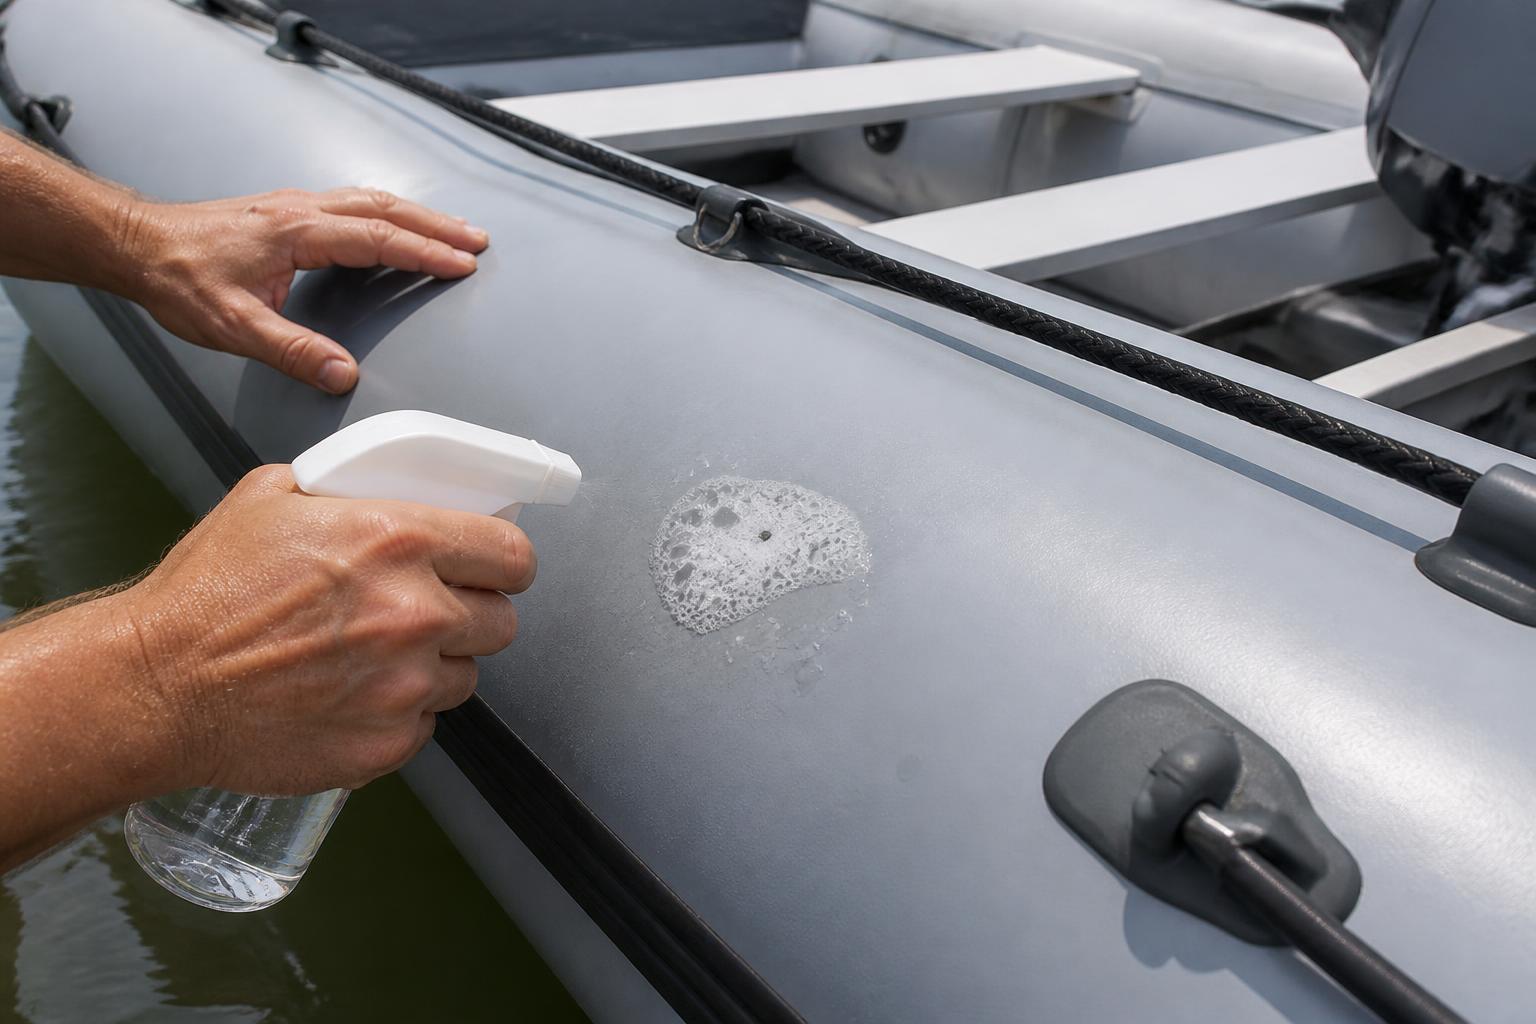
You can't patch what you can't find. Fully inflate the compromised chamber (firm, not over-pressurized) and mix a generous amount of dish soap with water in a spray bottle. Spray the entire tube section by section — seams, valve base, and any suspicious scuff marks. Bubbles forming and growing mean you've found your leak. Mark it immediately with a grease pencil or a small piece of tape, because the spot becomes much harder to see once the surface dries.
For slow leaks that don't show up quickly, submerge smaller inflatable components in a kiddie pool or bathtub if possible, or let the soapy water sit for several minutes before giving up on a section.
Step 2: Prep the Surface
This step is where most DIY repairs fail. Adhesive only bonds well to a clean, slightly roughened surface — not to dirt, oil, UV-degraded film, or the factory-smooth top coat.
- Clean the area around the leak with rubbing alcohol and let it dry completely.
- Lightly sand the area with 80-120 grit sandpaper, extending about 1 inch beyond where the patch will sit. You're not trying to grind through the fabric — just dull the shiny surface so the glue has something to grip.
- Wipe away all sanding dust with a clean rag.
- For PVC, a final wipe with acetone or MEK removes any remaining residue. Let it flash off for a minute or two before gluing.
Step 3: Cut and Shape the Patch
Cut your patch so it overlaps the damage by at least 1.5 to 2 inches on all sides. Round every corner — sharp corners catch on docks, rocks, and fingers, and they're the first place a patch starts to lift. If the puncture is on a curved section of tube, pre-shape the patch slightly so it sits naturally instead of fighting the curve.
Step 4: Apply Adhesive
Apply a thin, even coat of adhesive to both the patch and the boat surface. Most two-part adhesives need a few minutes of open air time before they become tacky — check your specific product's instructions, since timing varies significantly between PVC cement and Hypalon contact cement.
For Hypalon repairs especially, resist the urge to reposition once contact is made. These adhesives often bond on first touch, so line everything up carefully before pressing down.
Step 5: Press, Roll, and Clamp
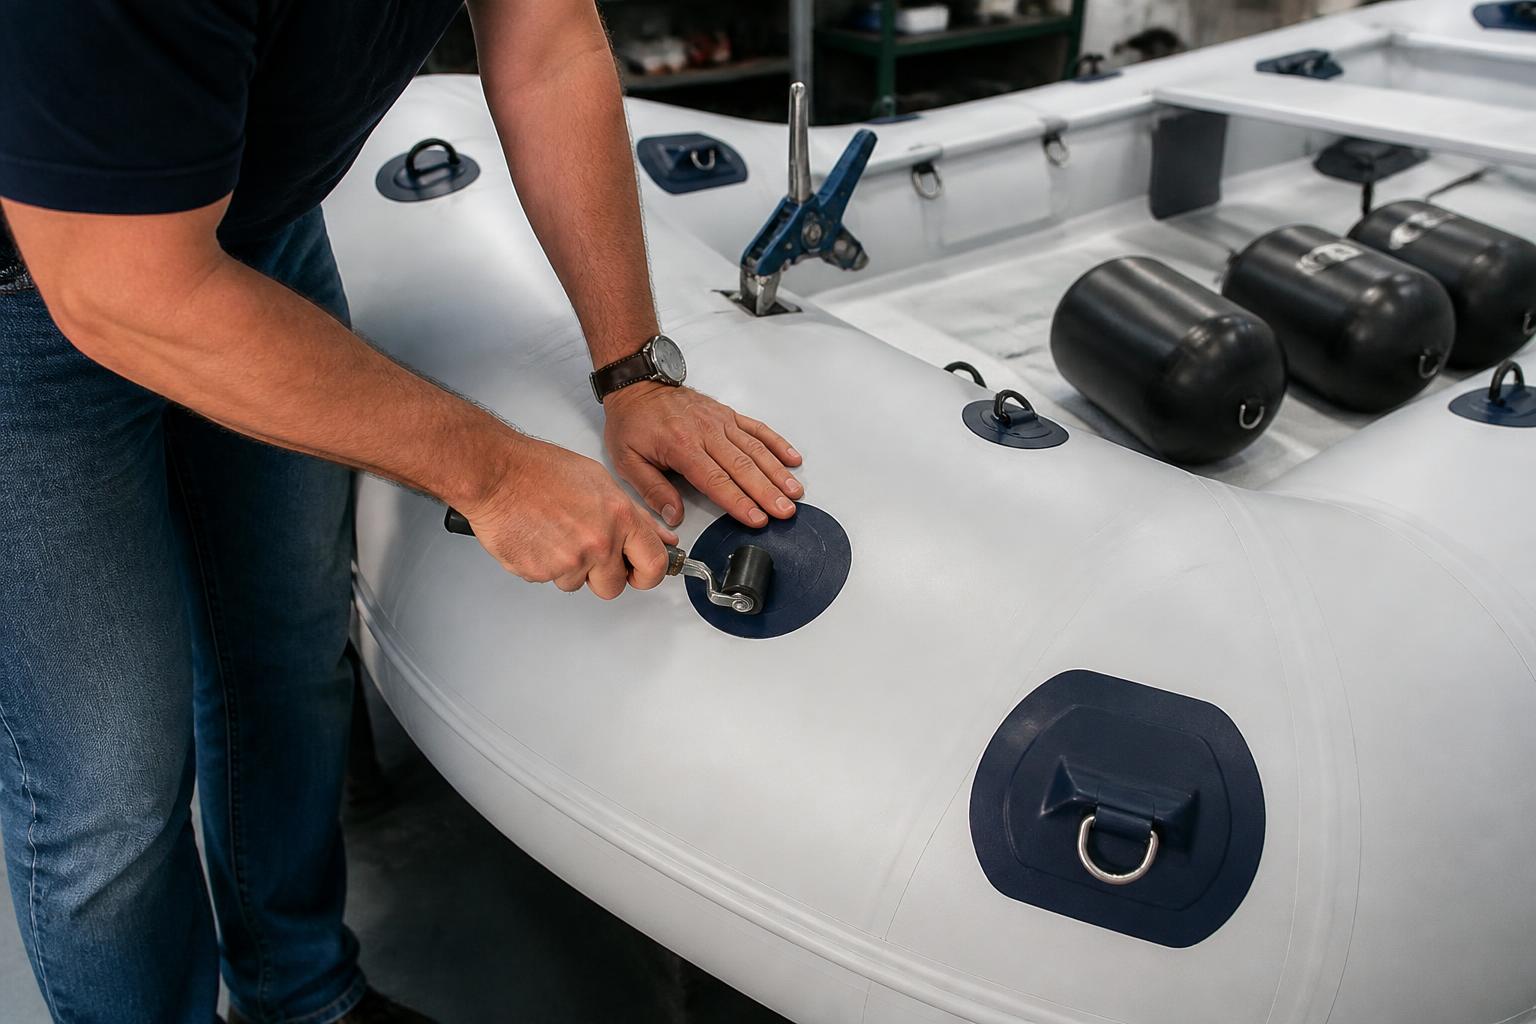
Starting from the center of the patch and working outward, press firmly to push out any trapped air bubbles. A hard roller works best, but the rounded back of a large spoon handles small patches fine. Once it's fully seated, weigh the patch down with a clamp, sandbag, or heavy flat object for at least a few hours while the bond sets.
Step 6: Cure Before Inflating
This is the step everyone wants to skip. Give the patch a full 24 hours (48 for Hypalon) before inflating the chamber. Inflating too early puts stress on a bond that hasn't fully hardened, and you'll often see the exact same leak reappear within days.
Fixing Seam Leaks
Seams are more complex than a simple puncture because they're multiple layers of fabric glued or heat-welded together. If a seam is lifting at the edge:
- Clean out any dirt or salt buildup trapped in the gap.
- Apply seam-specific adhesive or the same patch adhesive into the opening with a small applicator or toothpick, working it as deep into the seam as possible.
- Clamp the seam closed with binder clips or clothespins while it cures.
- For longer seam failures, lay a strip patch directly over the entire seam length rather than trying to glue just the open section — it's far more durable than spot repairs.
If a seam is failing in multiple spots or over a long run, that's often a sign of age-related adhesive breakdown rather than one-off damage, and it may be worth having a professional re-weld or re-glue the full seam.
Repairing Valve Issues
Valves are a different animal from the fabric itself. Most leaks here come from one of three places:
- The valve base gasket — unscrew the valve from inside the boat, clean both sides of the mounting flange, and check the rubber gasket for cracking. Replace if needed and reseat with fresh adhesive around the base if it's pulling away from the fabric.
- The valve's internal flapper or spring mechanism — debris, sand, or sun-cracked rubber can keep the valve from sealing. Most push-pin and spring-poppet valves can be unscrewed and cleaned, or swapped out entirely with a replacement valve insert.
- Cross-threading or a cracked valve housing — if the plastic housing itself is cracked, the whole valve unit typically needs replacement rather than repair.
Always test a valve repair the same way you test a patch — soapy water around the base and the valve stem itself, checked while the chamber is fully inflated.
Preventing Future Damage
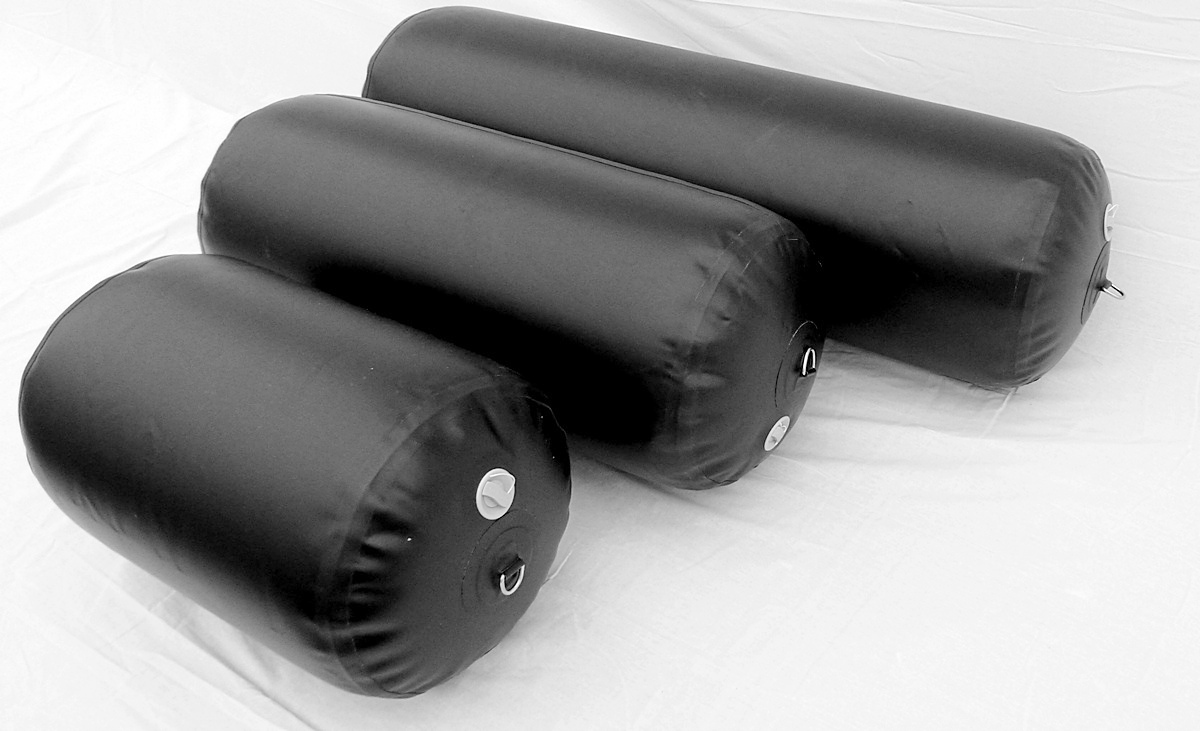
A lot of punctures and scuffs happen during docking and mooring, not out on open water. Hard contact with pilings, rocky shorelines, or another boat's hull is one of the most common causes of tube damage. Running a set of quality inflatable fenders along your gunwales goes a long way toward preventing the kind of impact damage that turns into an afternoon patch job. The SATURN inflatable fenders are built from 1.5 mm German Heytex PVC with heat-welded seams — nearly twice the thickness of standard fender material — and they deflate and roll up for storage when you're not docking, so they don't take up permanent space on board like rigid vinyl fenders do.
Beyond fenders, a few habits cut down on repair frequency significantly:
- Rinse off sand and salt after every outing — grit works its way into seams and valve threads over time.
- Store the boat out of direct sun when not in use; UV exposure is the single biggest long-term killer of both PVC and Hypalon fabric.
- Check valve caps are seated properly before each trip — a loose cap is an easy, avoidable slow leak.
- Avoid dragging the boat across pavement, gravel, or barnacle-covered rocks when launching.
When a Patch Isn't Enough
Most damage is fixable with the steps above, but there are times when a patch is just a temporary fix — multiple seam failures, large tears, or fabric that's become brittle and cracking from age and UV exposure. If your Saturn inflatable is still within its warranty window, it's worth checking whether the damage qualifies as a manufacturing defect rather than wear and tear. Saturn boats come with a standard warranty, and owners who want extra peace of mind can add the 2 Years Extended Warranty within six months of delivery, stretching hull coverage from 3 years to a full 5 years for $99. It only covers the hull and manufacturing defects — not everyday wear, scuffs, or puncture damage from docking mishaps — but it's a smart hedge if you're putting serious hours on the water.

Final Thoughts
Patching an inflatable boat isn't complicated once you understand the fabric you're working with and respect the cure times. Find the leak, prep the surface properly, use the right adhesive for PVC or Hypalon, and give it time to bond before you trust it with full air pressure. Combine that with good fenders to prevent impact damage in the first place, and most owners can keep a boat running for many seasons with nothing more than a patch kit and an afternoon of work.