

Top rated
Inflatable Boat Storage Guide: How to Store Your Boat in Winter and Between Trips
An inflatable boat is easier to store than a rigid hull, but it still needs a deliberate end-of-trip routine. Salt, sand, fish residue, moisture trapped in folds, and long exposure to sunlight can all shorten the service life of PVC tubes, valves, floors, and transom hardware. Whether you own a compact tender or a larger aluminum-floor model, cleaning it thoroughly, allowing it to dry completely, and choosing the right storage position will help prevent mildew, UV damage, abrasion, and avoidable creases.
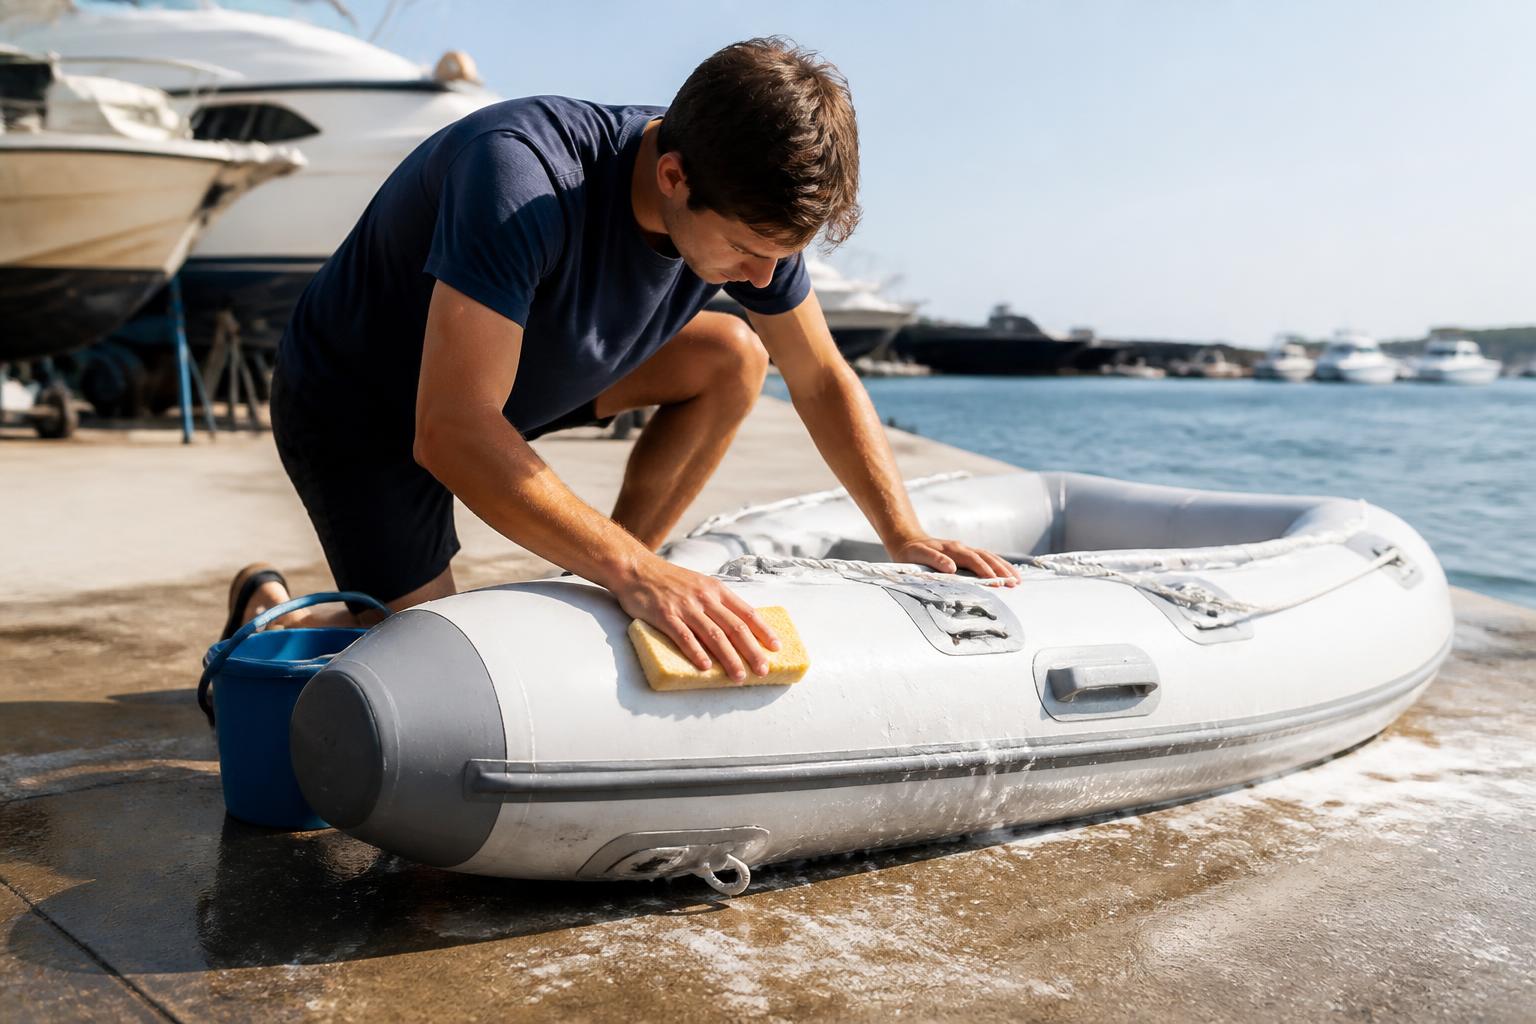
Start With a Clean Boat
Storage begins at the ramp, beach, or dock. The less dirt and salt you bring home, the easier the final wash will be. Before packing the boat, remove loose items such as oars, seats, fuel tanks, batteries, fishing gear, anchor line, and life jackets. These items can hold moisture, stain the PVC, or create pressure points during storage.
Rinse the exterior and interior with fresh water after every saltwater trip. Pay particular attention to:
- The seam areas between tubes and floor
- Valve bases and recessed valve openings
- The transom, drain area, and transom mounting hardware
- Under the floor panels or air floor
- Rub rails, lifting handles, and D-rings
- Areas exposed to fish slime, bait, sunscreen, mud, or fuel residue
For routine cleaning, use fresh water and a mild cleaner suitable for inflatable-boat PVC. Avoid harsh solvents, aggressive degreasers, abrasive pads, and cleaners not intended for PVC. They can leave the material dull, affect adhesives or fittings, or remove protective surface treatments. If fuel or oil contacts the boat, clean it promptly rather than allowing it to sit through the winter.
Drying Is the Most Important Step for Mildew Prevention
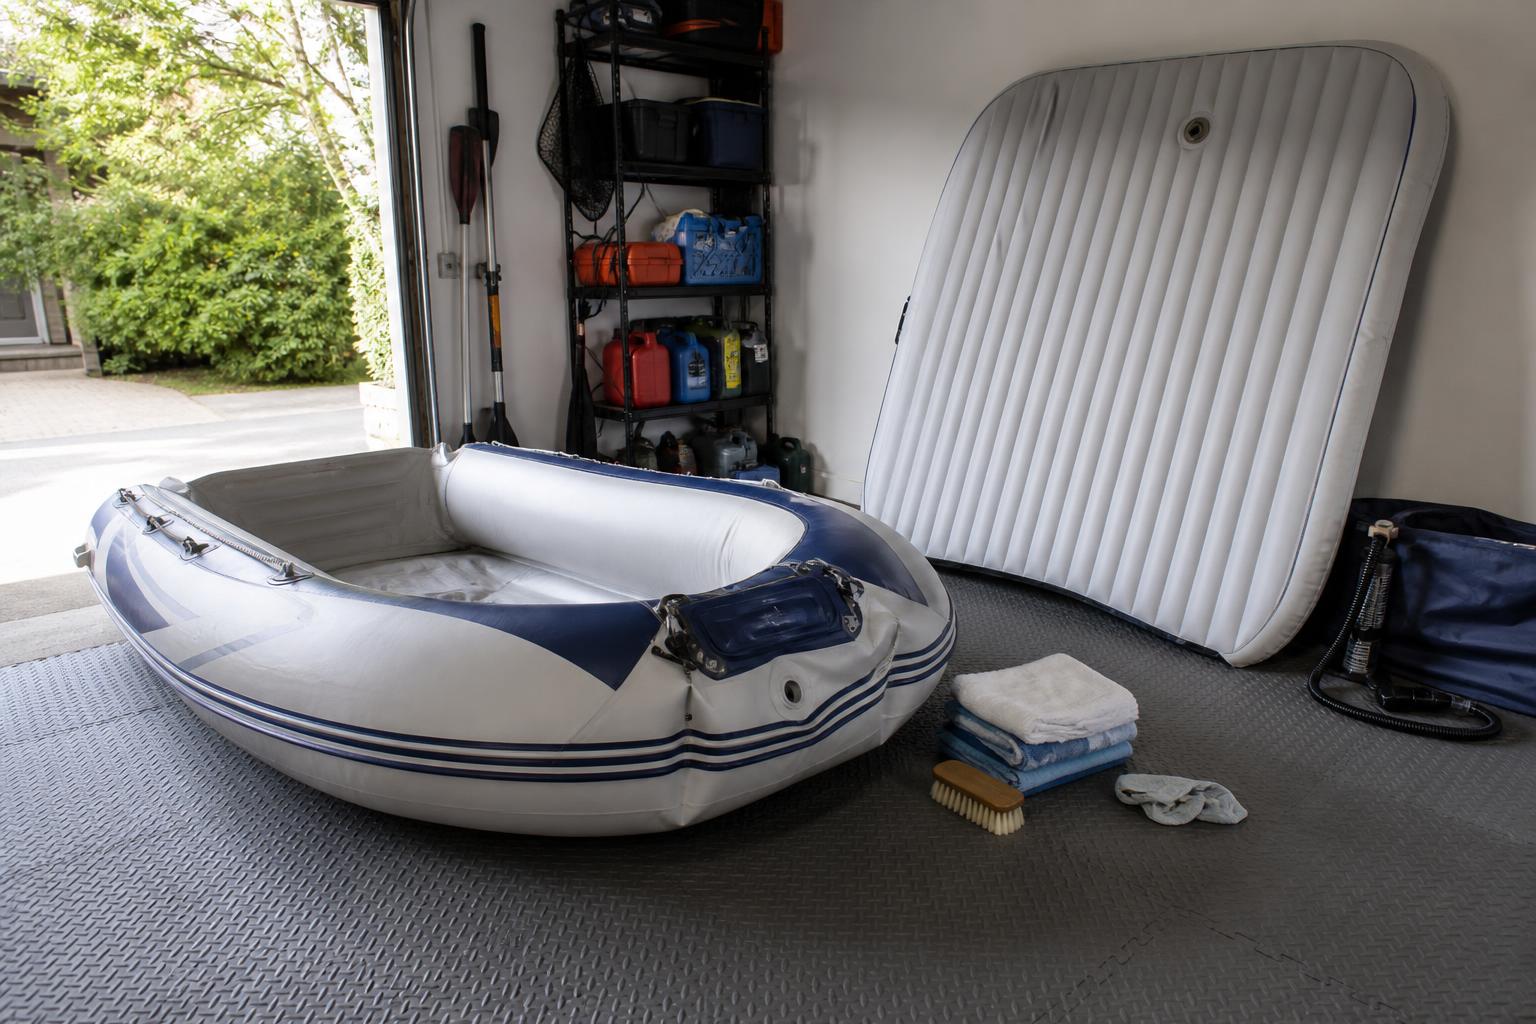
Never fold and store an inflatable boat while it is wet. Water can remain under an air floor, inside a folded transom area, around valves, and between tube folds even when the exterior looks dry. That trapped moisture creates the conditions for mildew, odor, and staining.
After washing, inflate the boat enough to open its shape and let it drain and air dry. Open or remove the floor as appropriate for your model so that both sides can dry. Wipe standing water from the interior, then leave the boat in a shaded, ventilated place until every surface is dry to the touch.
Drying in direct sun can be useful for a short period, but do not leave the boat unattended in hot sun. Air inside the tubes expands as temperatures rise. Avoid overinflation, and move the boat into shade once it is dry. UV exposure is a long-term concern, even for heavy-duty PVC materials.
Check the Hidden Areas Before Folding
Before deflating, inspect the places that are easy to miss:
- Water beneath removable floor sections
- The underside of a drop-stitch air floor
- Condensation around valve caps
- Sand trapped beneath seat boards or aluminum panels
- Water inside the bow and stern folds
- Moisture around the transom and mounting brackets
A boat that is clean and dry before storage is far less likely to develop the musty smell that often appears when a packed boat is opened in spring.
Inspect Before You Put the Boat Away
Winter storage is an ideal time to notice small issues before they become next season’s launch-day problem. Look over the tubes, seams, floor, valves, transom, handles, and accessories in good light.
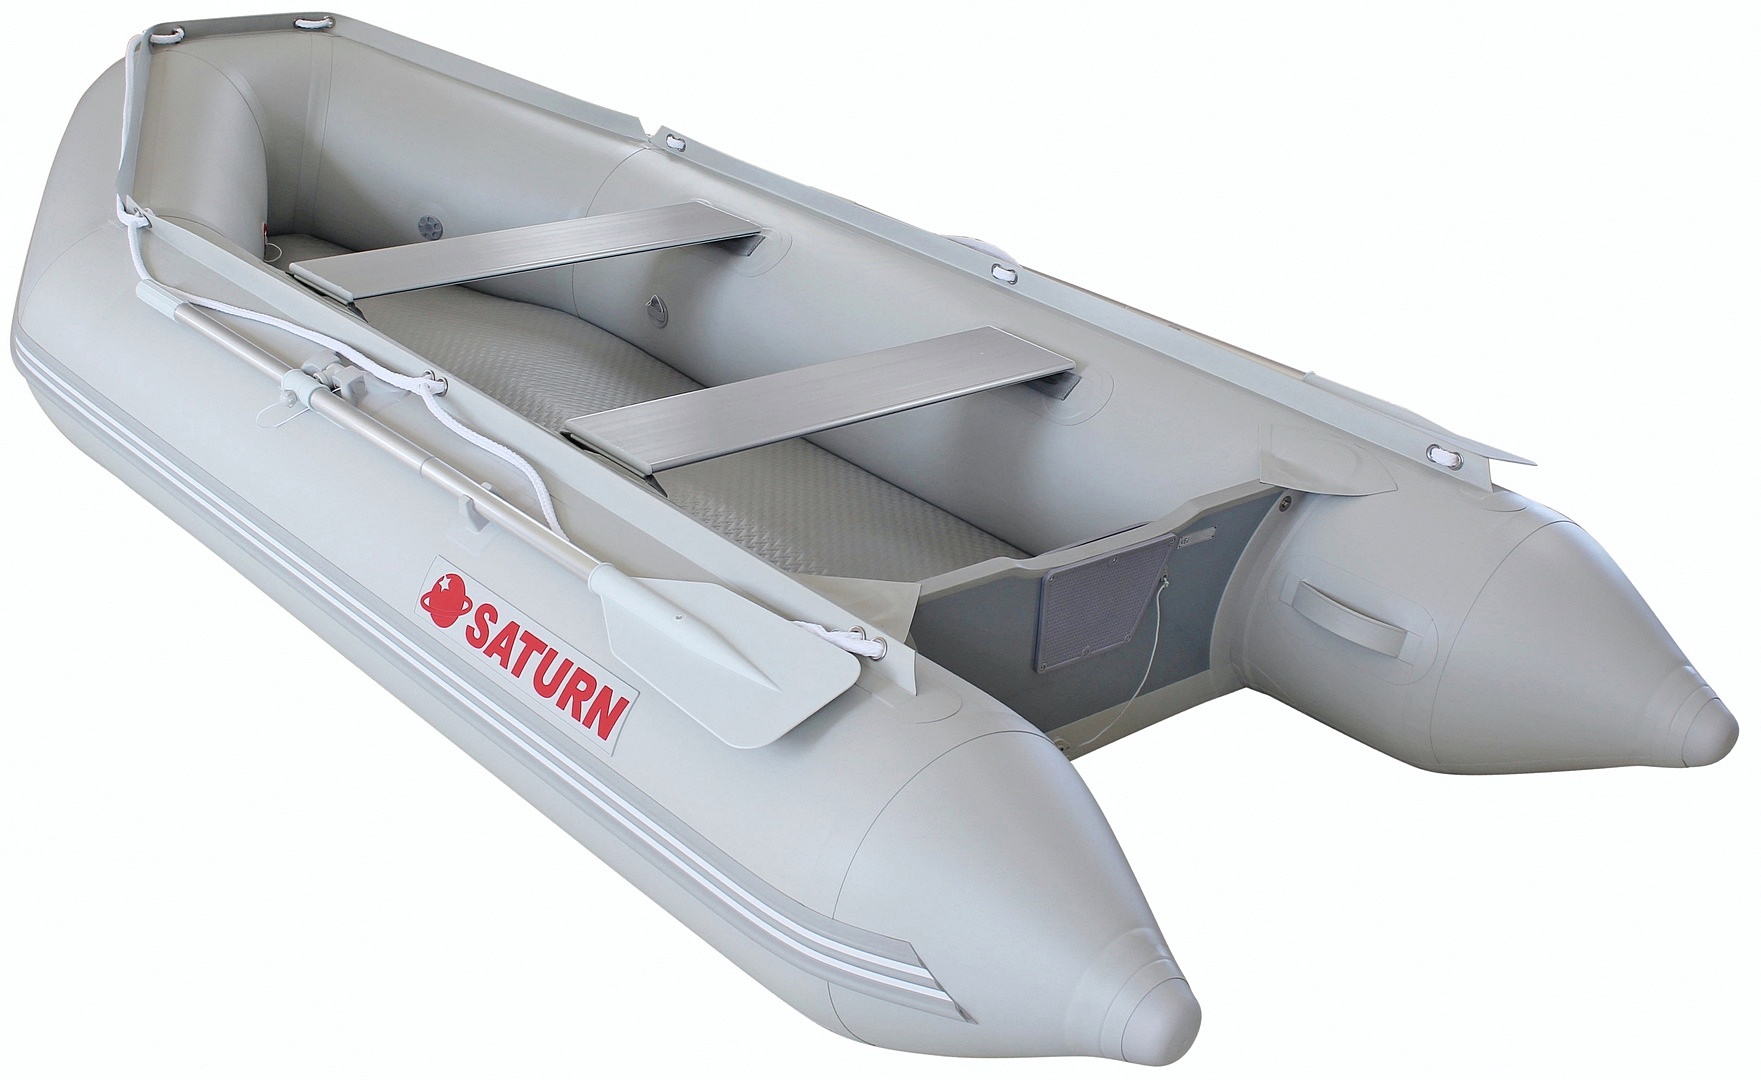
For example, the 11' Saturn SD330 inflatable dinghy uses 1100 denier reinforced PVC, quadruple-overlap seams, recessed one-way valves, and a high-pressure drop-stitch air floor. Its air floor is rated for up to 9 psi, so it is important to follow the correct pressure guidance when reinflating after storage. Check that the floor is clean and dry on both sides before rolling it with the boat.
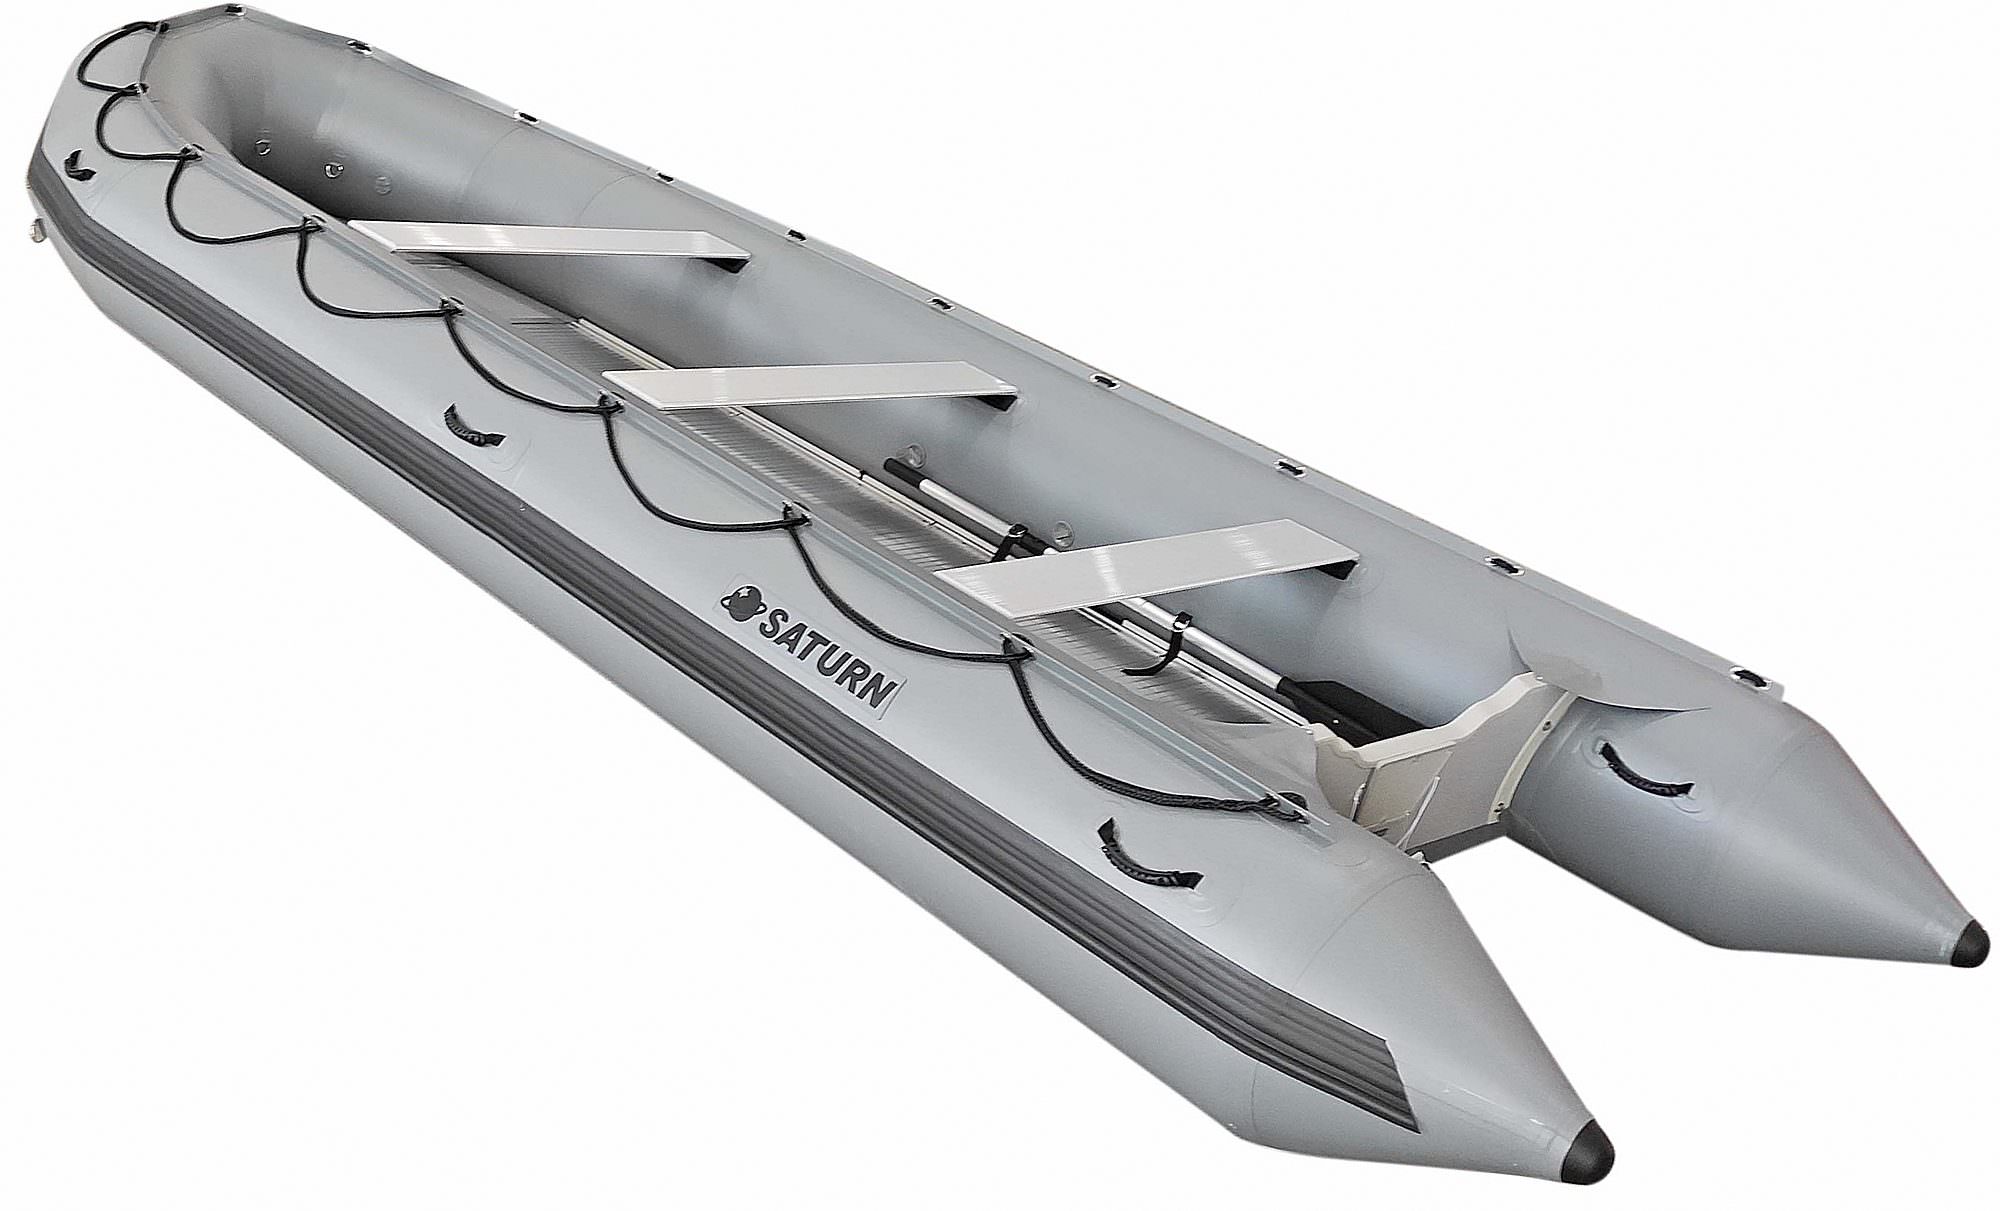
On a larger boat with a removable hard floor, inspect each floor panel and the joints between them. The 15' Saturn SD470, for instance, has an anodized aluminum floor and 20-inch tubes. Remove sand and grit from the aluminum sections before stacking them; grit can scratch panels and wear the PVC where components meet during transport or storage.
Deflate the Boat Slowly and Methodically
Once the boat is dry, deflate it in a clean area free of gravel, screws, sharp tools, and petroleum products. Sweep the floor first or place a clean tarp beneath the boat. Avoid dragging PVC tubes or an air floor across rough concrete.
Open the valves according to the valve instructions and allow the chambers to release air gradually. Start by removing most of the air, then press remaining air toward the valves as you fold. Do not force a tightly packed roll before the chambers are properly vented; excess trapped air makes the bundle bulky and puts unnecessary stress on folds and valves.
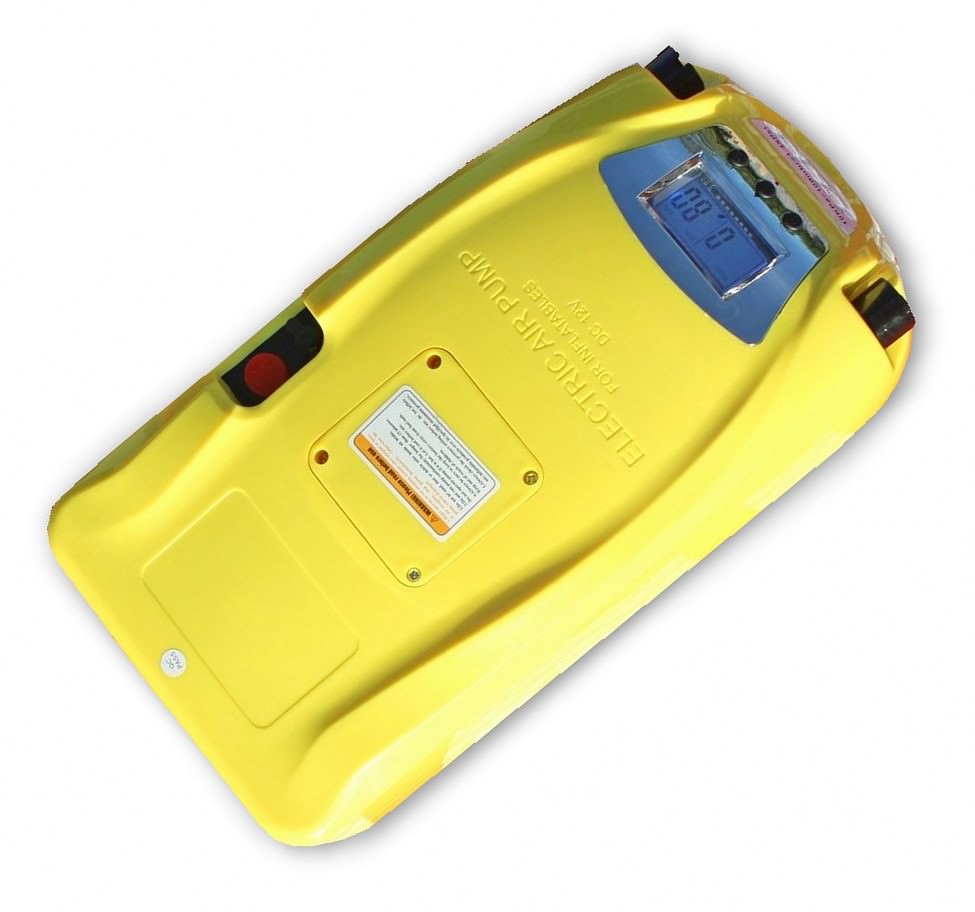
A pump that can both inflate and deflate makes this stage much easier. The Digital High-Pressure Electric Pump with Battery is designed to inflate and deflate boats, kayaks, rafts, iSUPs, and drop-stitch floors. It combines a high-speed fan pump with a high-pressure piston pump, has a digital pressure display in KPA, includes adapters for Saturn pushpin valves, and packs into a 14" x 8" x 8" size.
Do Not Use a Vacuum or Compress the Boat Aggressively
The goal is to remove ordinary trapped air so the boat can be folded without strain—not to flatten it as much as possible. Do not use a household vacuum, shop vacuum, or improvised method that could pull excessively on seams, valves, or internal baffles. Use a pump intended for inflatable boats if powered deflation is needed.
How to Fold an Inflatable Boat Without Creating Unnecessary Wear
There is no benefit to making a boat package smaller than its carry bag requires. Tight, repeated folds in exactly the same place can create visible crease lines over time. A better approach is to make broad, smooth folds and vary the fold locations slightly from season to season when practical.
- Lay the dry, deflated boat on a clean tarp or smooth floor.
- Remove or separate the floor, seats, oars, and other loose components.
- Bring the tubes inward in broad sections rather than sharply bending them.
- Keep valves protected from hard objects and avoid folding directly across them.
- Roll or fold toward the valve end only as needed to push out remaining air.
- Place the boat in its bag without forcing zippers, straps, or seams.
If your boat has an aluminum floor, store the floor panels where they cannot rub against the rolled tube fabric. Many owners place a layer of clean cardboard, fabric, or the boat’s protective packaging between components. Keep sharp hardware, anchor parts, and tools in a separate container.
Fully Deflated vs. Partially Inflated Storage
Fully deflated storage is usually the best choice when space is limited, when the boat must be moved frequently, or when the boat is being stored for a long period in its transport bag. Partially inflated storage can be preferable when you have a clean, dry indoor space and want to avoid long-term sharp folds.
| Storage method | Best for | Main advantages | Important precautions |
|---|---|---|---|
| Fully deflated and folded | Limited space, transport, seasonal storage, apartment or garage shelving | Small footprint; easier to move; keeps the boat protected inside its bag | Boat must be completely dry; avoid sharp folds, over-tight straps, and storing heavy items on top |
| Partially inflated | Clean indoor storage with enough floor or wall space | Reduces pronounced fold lines; makes the next launch faster; allows easier periodic inspection | Keep it away from sunlight, heat sources, and sharp objects; do not leave it at full operating pressure in changing temperatures |
| Inflated on a trailer or rack | Frequent use during the season | No assembly before each trip; convenient for a boat that is used often | Provide even support, cover from UV exposure, monitor pressure, and prevent pooled water inside the boat |
When Partially Inflated Storage Makes Sense
Consider partially inflated storage when the boat will be used again soon, when you have enough protected indoor space, or when you want to minimize repeated folding. Keep the boat clean, dry, and supported so that no single point bears the weight of the hull, transom, or floor.
Do not store a boat fully inflated in a hot shed, direct sun, or a location with large daily temperature swings. Tube pressure changes with temperature. For long-term partially inflated storage, use only the pressure and storage practices recommended for your particular boat, and check it periodically.
Choose the Right Storage Location
The ideal location is dry, shaded, clean, and protected from temperature extremes. A garage, basement storage area, or dry workshop is generally better than an uncovered porch, damp crawlspace, or outdoor area exposed to sun and weather.
- Keep it out of direct sunlight: UV exposure can age PVC over time.
- Keep it dry: Avoid damp floors and locations prone to leaks or condensation.
- Keep it off rough concrete: Use a tarp, mat, shelf, or padded support.
- Keep it away from rodents: Do not store food, bait, or attractants in the boat bag.
- Keep it away from chemicals: Fuel, solvents, paint products, and battery acid do not belong near PVC fabric.
- Do not stack heavy objects on it: A stored boat should not become a shelf for tools, tires, or boxes.
If storing the boat vertically or on a rack, make sure its weight is distributed over wide, padded support points. Never hang a heavy inflatable boat by one handle, one D-ring, or a small section of tube for months at a time.
Store Accessories Separately
Accessories last longer when they are cleaned, dried, and organized independently from the boat. Remove batteries from electronics and store them according to their manufacturer instructions. Empty fuel tanks and store fuel-related equipment safely and separately from the boat.
Launching wheels should also be cleaned after use, especially after saltwater launches. The Inflatable Boat Launching Wheels use marine-grade anodized aluminum and 12" x 3" all-terrain wheels. They attach to the transom bracket with lock pins and can be completely disconnected for deflation and storage. Removing them can make the boat easier to pack and prevents the wheel assemblies from pressing against the PVC in storage.
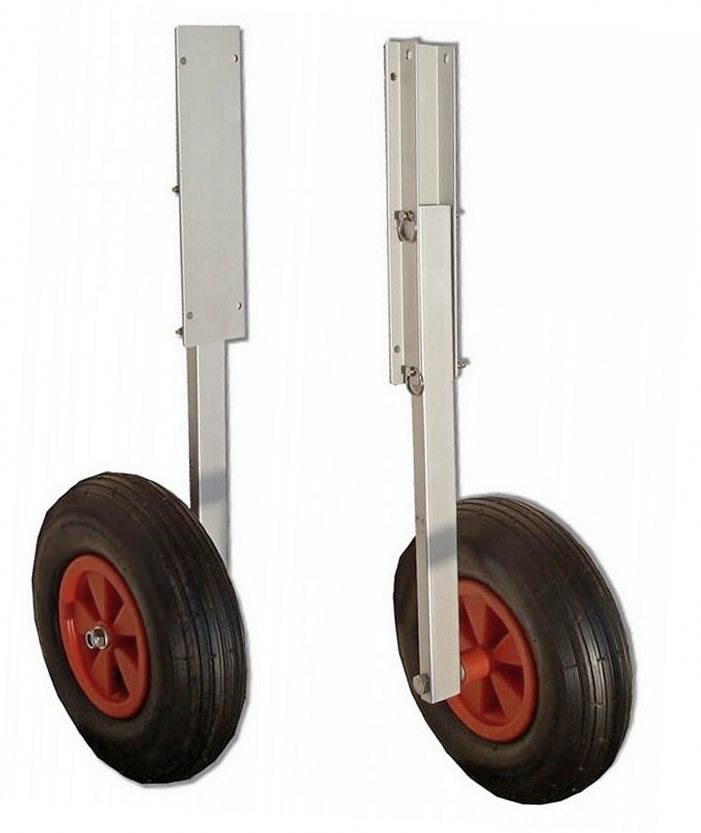
These wheels are intended for short-distance launching and moving, not for towing behind a vehicle. Their recommended maximum weight is 300 lb (136 kg), so do not use them as a substitute for a proper trailer or as a long-term storage stand for a fully loaded boat.
Storage Considerations for Different Boat Sizes
The basic process is the same for every inflatable, but the amount of space and the number of components change with boat size. A compact air-floor boat is especially convenient for seasonal storage, while a larger aluminum-floor boat benefits from carefully separated and labeled components.
| Model | Floor type | Material | Useful storage consideration |
|---|---|---|---|
| Saturn SD330, 11' | Drop-stitch air floor | 1100 denier reinforced PVC | Dry the air floor separately before folding; the boat’s shipping size is 41" x 26" x 15". |
| Saturn SD470, 15' | Anodized aluminum | 1100 denier reinforced PVC | Clean and dry aluminum panels before stacking; tube and floor components are separate shipping pieces. |
A Simple Winter Storage Checklist
- Remove gear, fuel-related equipment, electronics, and loose accessories.
- Rinse the boat thoroughly with fresh water.
- Clean dirt, salt, fish residue, and any fuel or oil contamination.
- Dry tubes, valves, floor surfaces, transom, and all hidden areas completely.
- Inspect seams, valves, handles, floor components, and hardware.
- Deflate gradually using the correct valve procedure.
- Fold with broad curves and without forcing the boat into an overly tight roll.
- Store the boat in a dry, shaded place away from chemicals, rodents, and heavy objects.
- Store floor parts, launching wheels, and accessories separately and dry.
- Check the boat periodically during the off-season, especially if it is partially inflated.
Make Spring Setup Easier
Taking an extra hour to store an inflatable boat properly can save considerable cleaning and troubleshooting when the next boating season arrives. A dry, protected boat is easier to inflate, easier to inspect, and more pleasant to use. Before your first trip of the season, unroll or inflate it in a clean area, inspect the valves and seams again, install the floor, and bring it up to the proper operating pressure with a reliable pump.
Whether you are packing an 11-foot air-floor tender or preparing a 15-foot aluminum-floor boat for the off-season, the fundamentals remain simple: clean it, dry it, avoid excessive heat and UV exposure, prevent harsh folds, and keep the storage area dry and protected.