Customer's Set Up for SD470 Inflatable Boat.

Here is a rather wordy description of what I did to the Saturn SD470 inflatable boat, followed by several pictures.
———————————————————
BOAT NOTES
Seems like this is still a work-in-process. But here is where it stands. Everything works well.
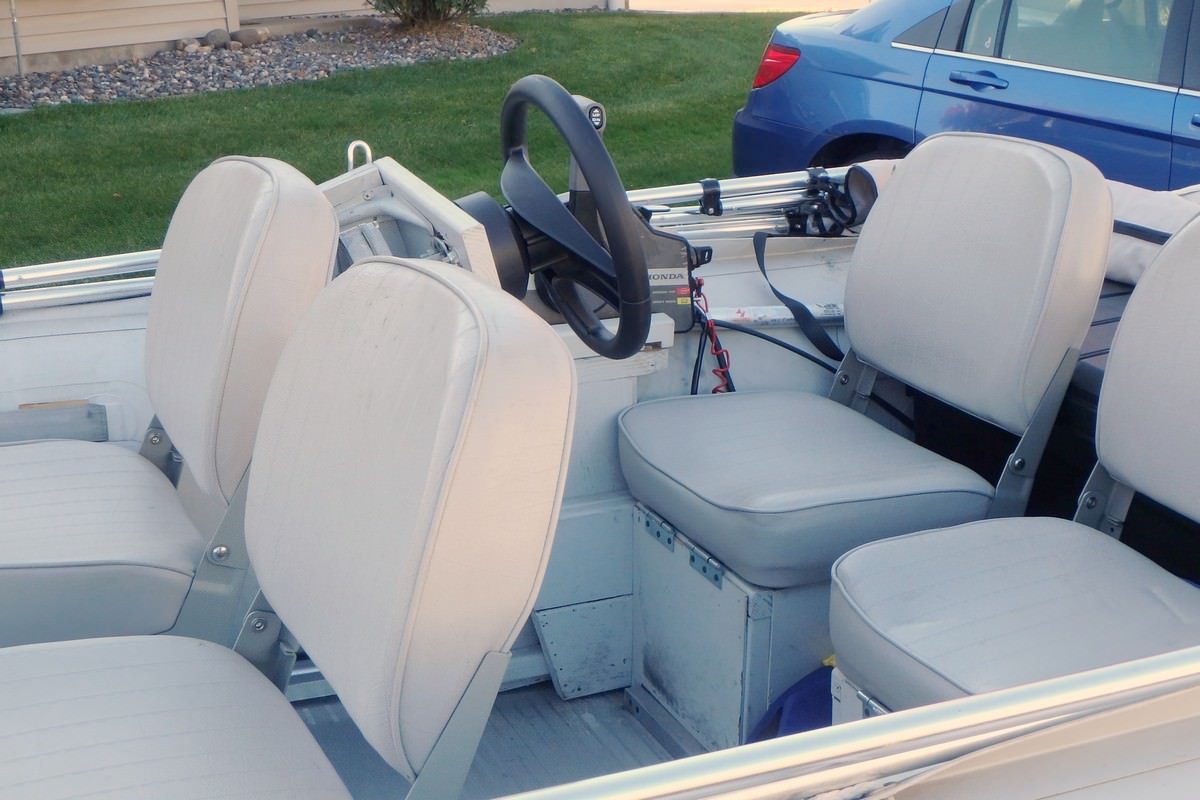
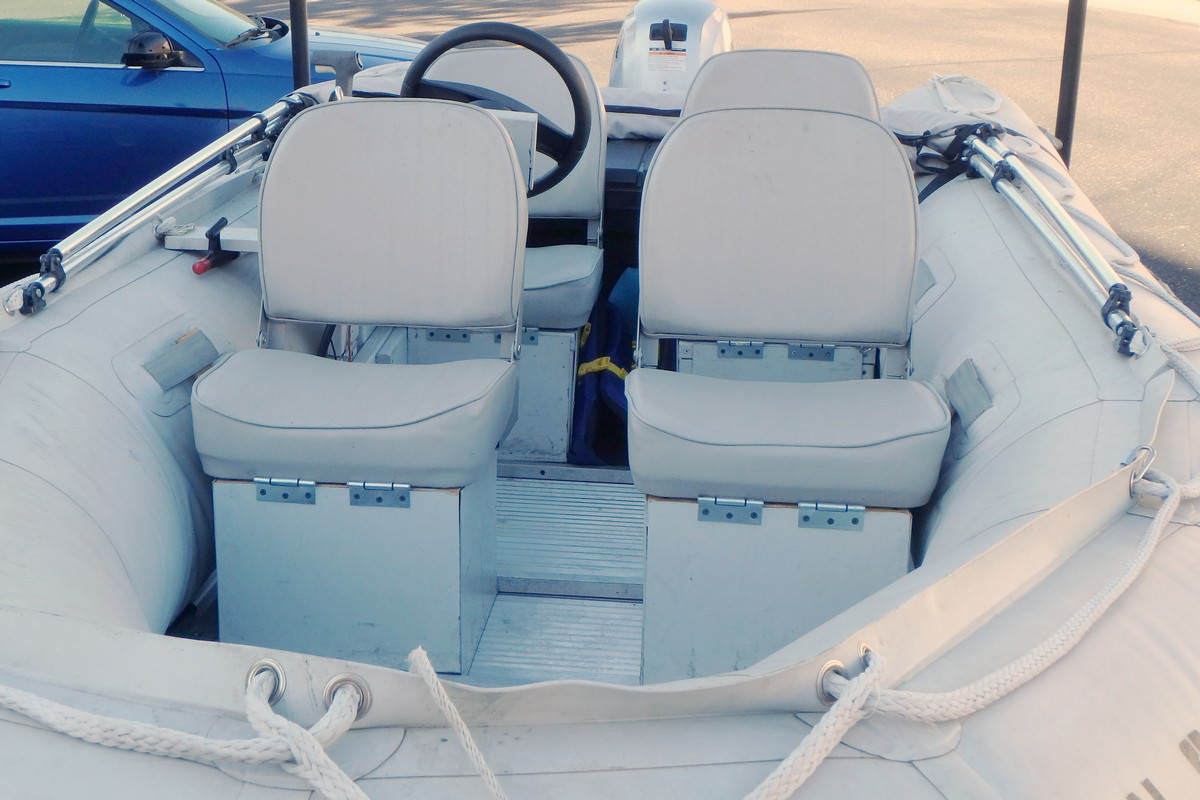
SEATS
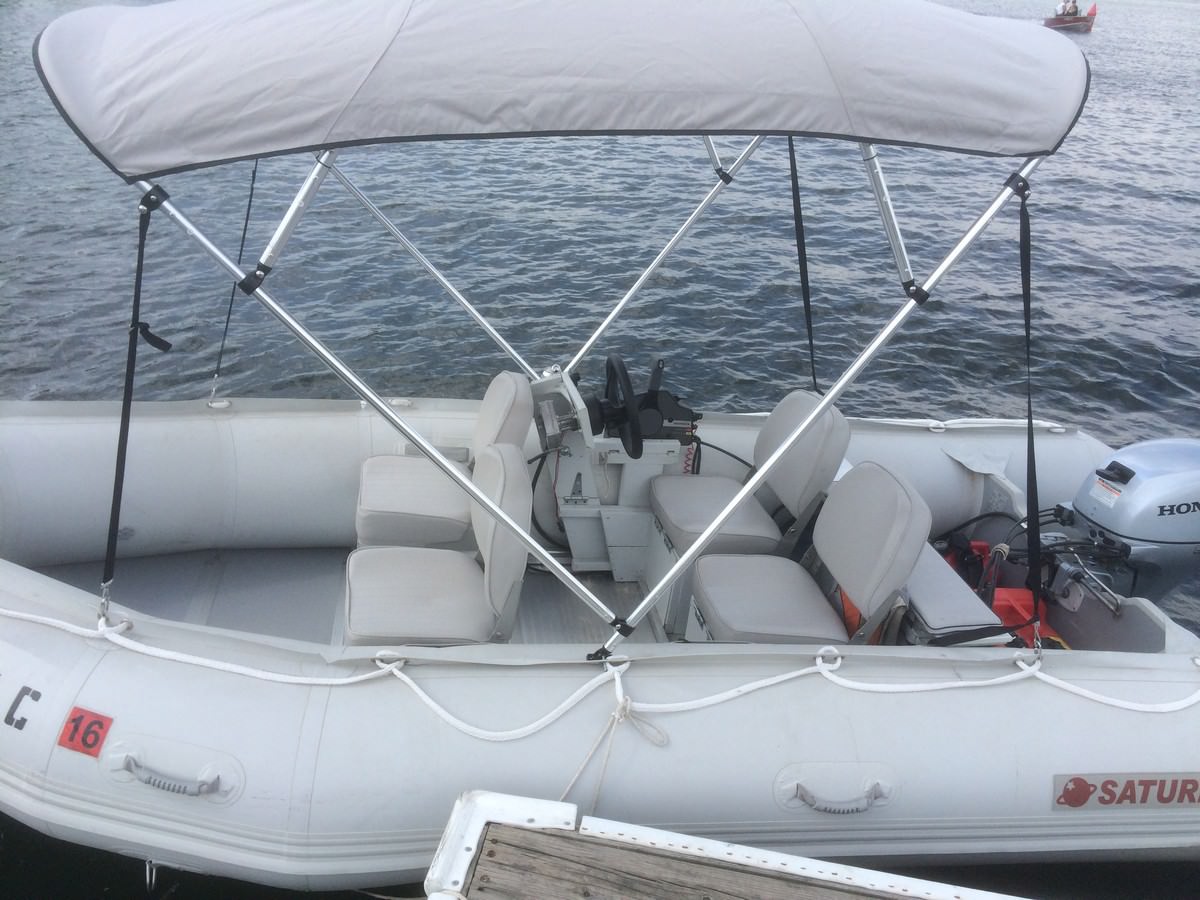
The goal was to not attach anything to the inflatable boat. I created a frame of 1"x1" square aluminum tubing that just sits on the floor. The seats are attached to the frame. They do move a bit from wave action but that does not seem to hurt anything. I did add a couple of thin wood shields against the tubes to keep the forward seats from abrading the tubes. I needed to put the forward seats far apart as possible to allow passage between them; I managed 7". The battery is under the aft passenger seat for better balance.
HELM
It took lots of trial-and-error to create a helm with nothing attached to the inflatable boat. I hinged the helm to fold it down when covering the inflatable boat for long-distance travel. The 2014 20hp Honda engine has electric start and tilt - a luxury after years of pull start and tilt on previous inflatable boats! I go about 25mph alone, less but still planing with passengers. I also added a cigarette lighter outlet and USB plug to charge my iPhone and digital camera.
BIMINI TOP
I had to locate it to clear the engine when booted and folded down.
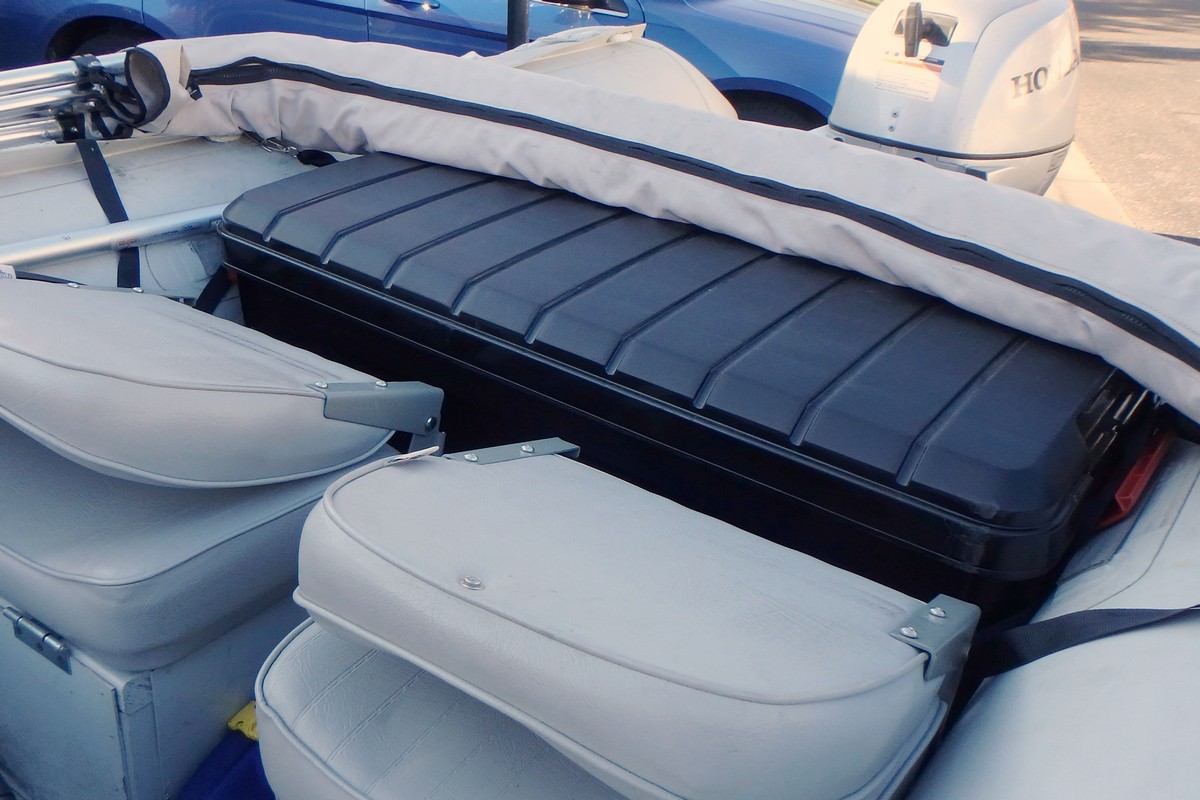
STORAGE LOCKER
The storage locker is about 18"x18"x48" - a perfect fit. I got it at a place that sells all sorts of containers. I added hinges to the cover, making a big weather-tight storage. The cover can be held open by raising the booted bimini top a bit and resting it on the edge of the open cover. I store the inflatable boat cover, pump, short ladder, running lights, and such. The cover also makes a good table for my lunch.
AFT STORAGE
This is a covered plastic box you can get at most any store. I put motor oil, lower unit oil, trailer wheel grease gun, tools, and anything needed to service the engine and trailer, with easy access from the ground at the stern.
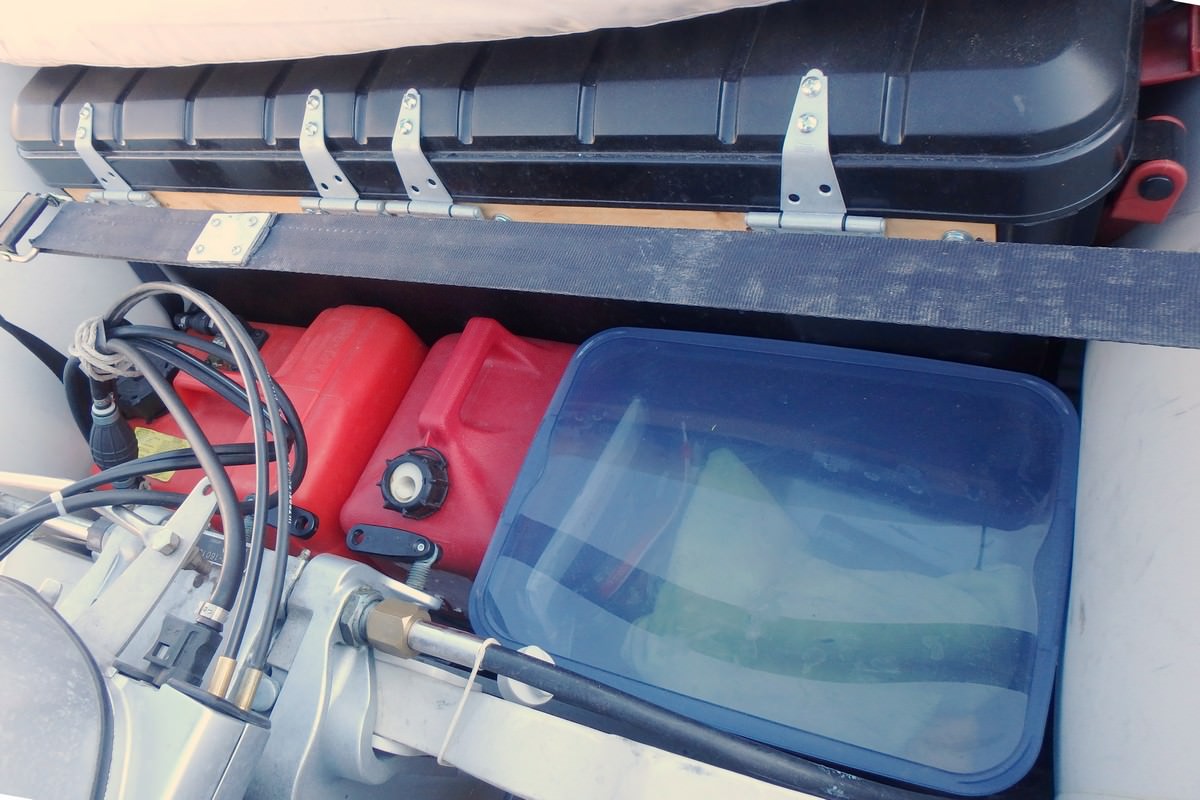
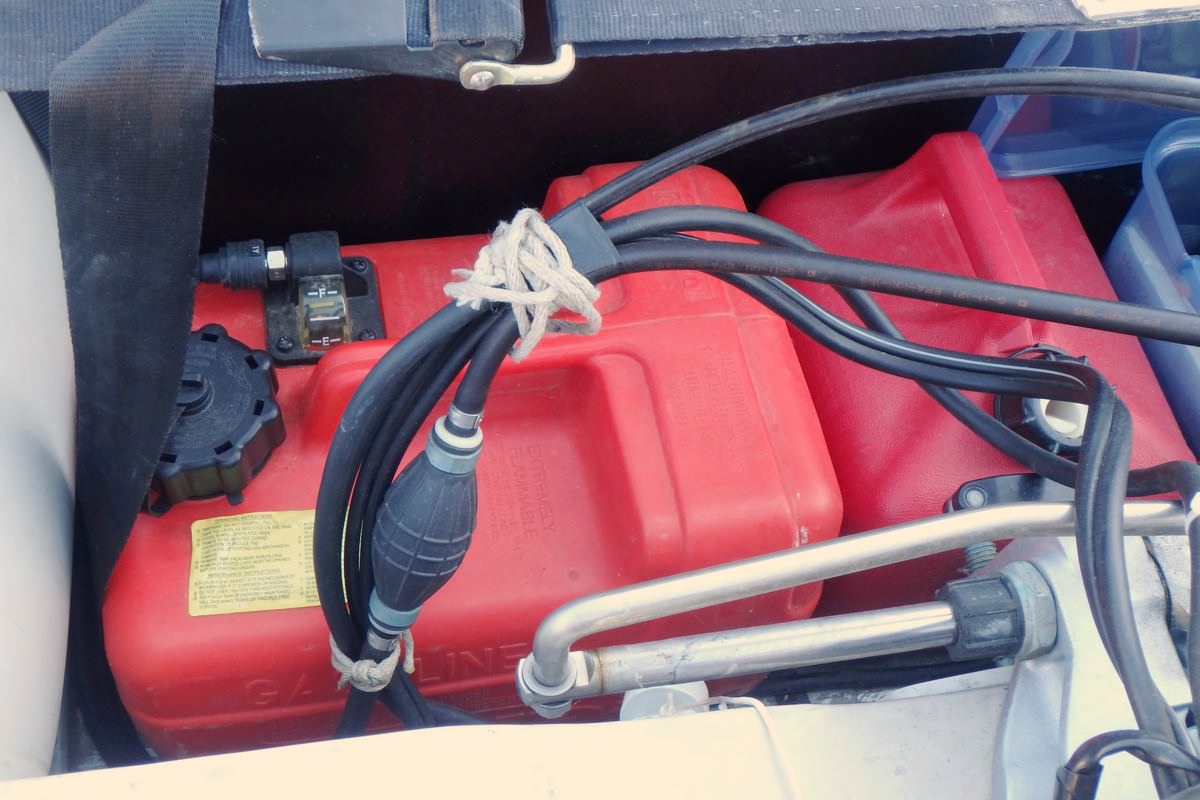
GAS TANKS
A 6 gallon tank came with the engine. I added an emergency 2 gallon can, which I have never had to use. I can boat for 5-6 hours on 6 gallons.
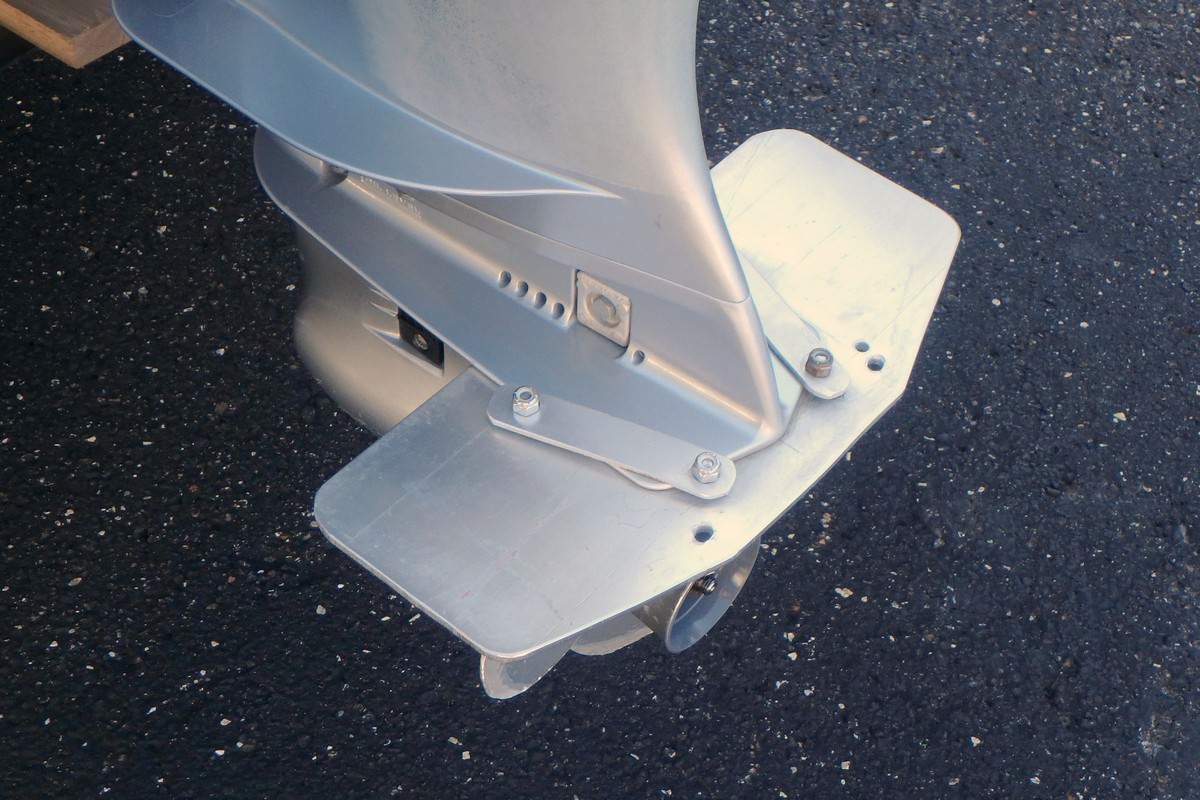
ENGINE
The 20hp engines pushes my SD470 inflatable boat to about 25mph with one aboard. With four aboard it struggles to get up on a plane but does. I fashioned a hydrofoil for the engine which helps a bit, especially on cavitation. I was unable to find a hydrofoil for a 20hp Honda. I wish the transom was a bit lower though. A short-shaft engine rides just a bit too high.
TRAILER
I modified a Northern Tool 5x7 trailer with 12" wheels. I added a 4' swing tongue with a Fulton fold-away coupler, which allows inflatable boat to be housed in a standard (21') garage with room for a compact workshop behind the stern. The trailer bunks are made of cedar deck boards, as is the bow support. I replaced the original running lights with LED lights.
LAUNCHING
I tie a long line from the bow ring to the trailer post (coiled up in the bow), then back up and let the inflatable boat slide into the water. Then I pull forward until the post (with bow line attached) is clear of the water.
RETRIEVING
(single-handed and not get wet)
I have experimented with a dozen methods. Here is one that works. (Sounds complicated but works.)
I have a jam-cleat on the trailer post. The boat has a long length of line on the bow ring. I back the trailer into the water up to the trailer post (on dry land). I pull the boat up to the end of the trailer then run the line though the jam cleat. The line is long enough such that I can hold it from the driver's seat of my minivan and gradually pull the boat onto the trailer as I back in further and the boat settles under the boat, until the bow hits the trailer post. Then I drive out, holding the line tight until the boat settles onto the trailer.